Making sushi can be an involved endeavor, but it's less work than you might think and the process itself is half the fun when you've got friends and family dicing and rolling. To get sushi rolls to stick together you've got to make the right kind of rice, which has a much different texture than normal white rice.
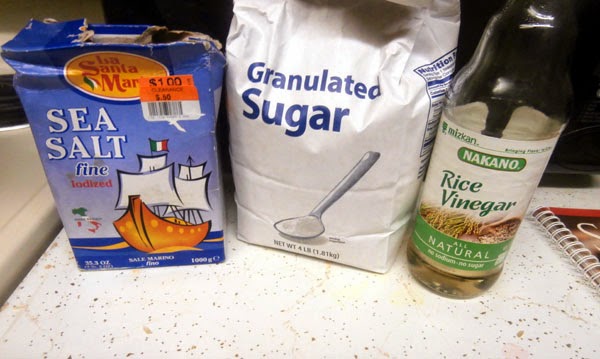
For the rice, you'll need:
- 1 cup sushi rice (found in the Asian section of most supermarkets)
- 1 sheet kombu or 1/4 cup rice seasoning
- 1/3 cup rice vinegar
- 1 tsp salt
- 1 tsp sugar
It can be quite expensive, however, if you happen to not live in an area near the ocean or with plenty of Asian markets, but you can usually find Japanese rice seasoning - which contains a similar dried seaweed - for a fraction of the cost at any given supermarket.
Cover your rice with water and add in either your sheet of kombu or rice seasoning. Bring to a boil, then cover and reduce heat to simmer until the rice has absorbed all the water - about 30 to 40 minutes.
Don't stir the rice or remove the lid at all during cooking - it needs to remain covered to soak up all the liquid so eventually you'll get fluffy rice like this:
Allow the rice to cool slightly, and then its time to add in the remaining ingredients: salt, sugar, and rice vinegar.
Cut in the ingredients using a wooden spoon rather than vigorously stirring. You may want to pour the rice vinegar over the back of the wooden spoon to ensure an even application.
Set a damp cloth over your rice and let it set until you are ready to start rolling up your sushi.
For the rolls and filling, you'll need:
- Nori sheets
- Sesame seeds
- 1 cucumber, cut into matchsticks
- 1 avocado, diced
- Seafood filling (shrimp, raw sushi grade tuna, imitation crab, a spicy crab mixture, etc.)
We decided to do three different kinds of filling, one of which is a fun surimi roll that uses imitation crab. To make this filled, combine shredded crab with a few tablespoons of mayo, a couple of dashes sriracha hot sauce, and some store-bought Szechuan sweet and sour sauce. You can also throw in thinly diced cucumber and green onions. Pickled ginger is also frequently an ingredient used here, but we didn't get any this time around.
For the second type of roll we're just going to use leg-style imitation crab with cucumber and avocado.
And finally our third type will use tail-off pre-cooked shrimp along with some of the cucumber.
I prefer reverse-rolls, which have the rice on the outside and the nori sheet on the inside. These are a little trickier to make because of how sticky sushi rice can be.
To make reverse rolls, set a piece of plastic wrap over your rolling mat, and then cover the entire nori sheet in rice. Flip the sheet over so the rice is facing down on the plastic wrap, then add in a thin layer of your preferred filling. Carefully roll the sheet forward and into itself, making sure not to let the plastic wrap get caught up in the rolling - if the plastic wrap goes inside the filling, the rice won't adhere to the sides and your roll will fall apart.
After rolling all the way over, pulling the rolling mat back toward you to reveal your finished roll! Sprinkle on some sesame seeds and slice up the roll into whatever size pieces you prefer.
Here's our all grown up Jayne (21 now!) putting some filling on a nori sheet.
While on our trip to Florida and Kentucky last year, we noticed many places that sold sushi were putting on interesting toppings like spicy sauces, so I decided to try making my own. This is just a homemade, on-the-fly sauce concoction made with mayo, sriracha hot sauce, and sesame seed oil, applied through a thin tipped ketchup bottle.
It had been quite awhile since we'd done sushi, so our rolling and cutting skills were a little rusty, but we got the hang of it eventually
Here's a plate of three pieces from a reverse roll filled with shrimp, cucumber, and avocado, just topped with sauce.
And now here's some sushi fully plated and ready to go with a smear of wasabi paste and a small saucer of soy sauce for dipping. Sushi is also traditionally served with slices of pickled ginger in-between pieces as a palette cleanser.


